We are happy to announce we will be at this VCF MidWest. We will be offering on site services and selling various products. We will also have personal items we’re selling.
We hope to see you there!
We are happy to announce we will be at this VCF MidWest. We will be offering on site services and selling various products. We will also have personal items we’re selling.
We hope to see you there!
Our store is now officially up and running. You can find it at https://store.amigaofrochester.com – we have upgrades for your Amiga and Macintosh.
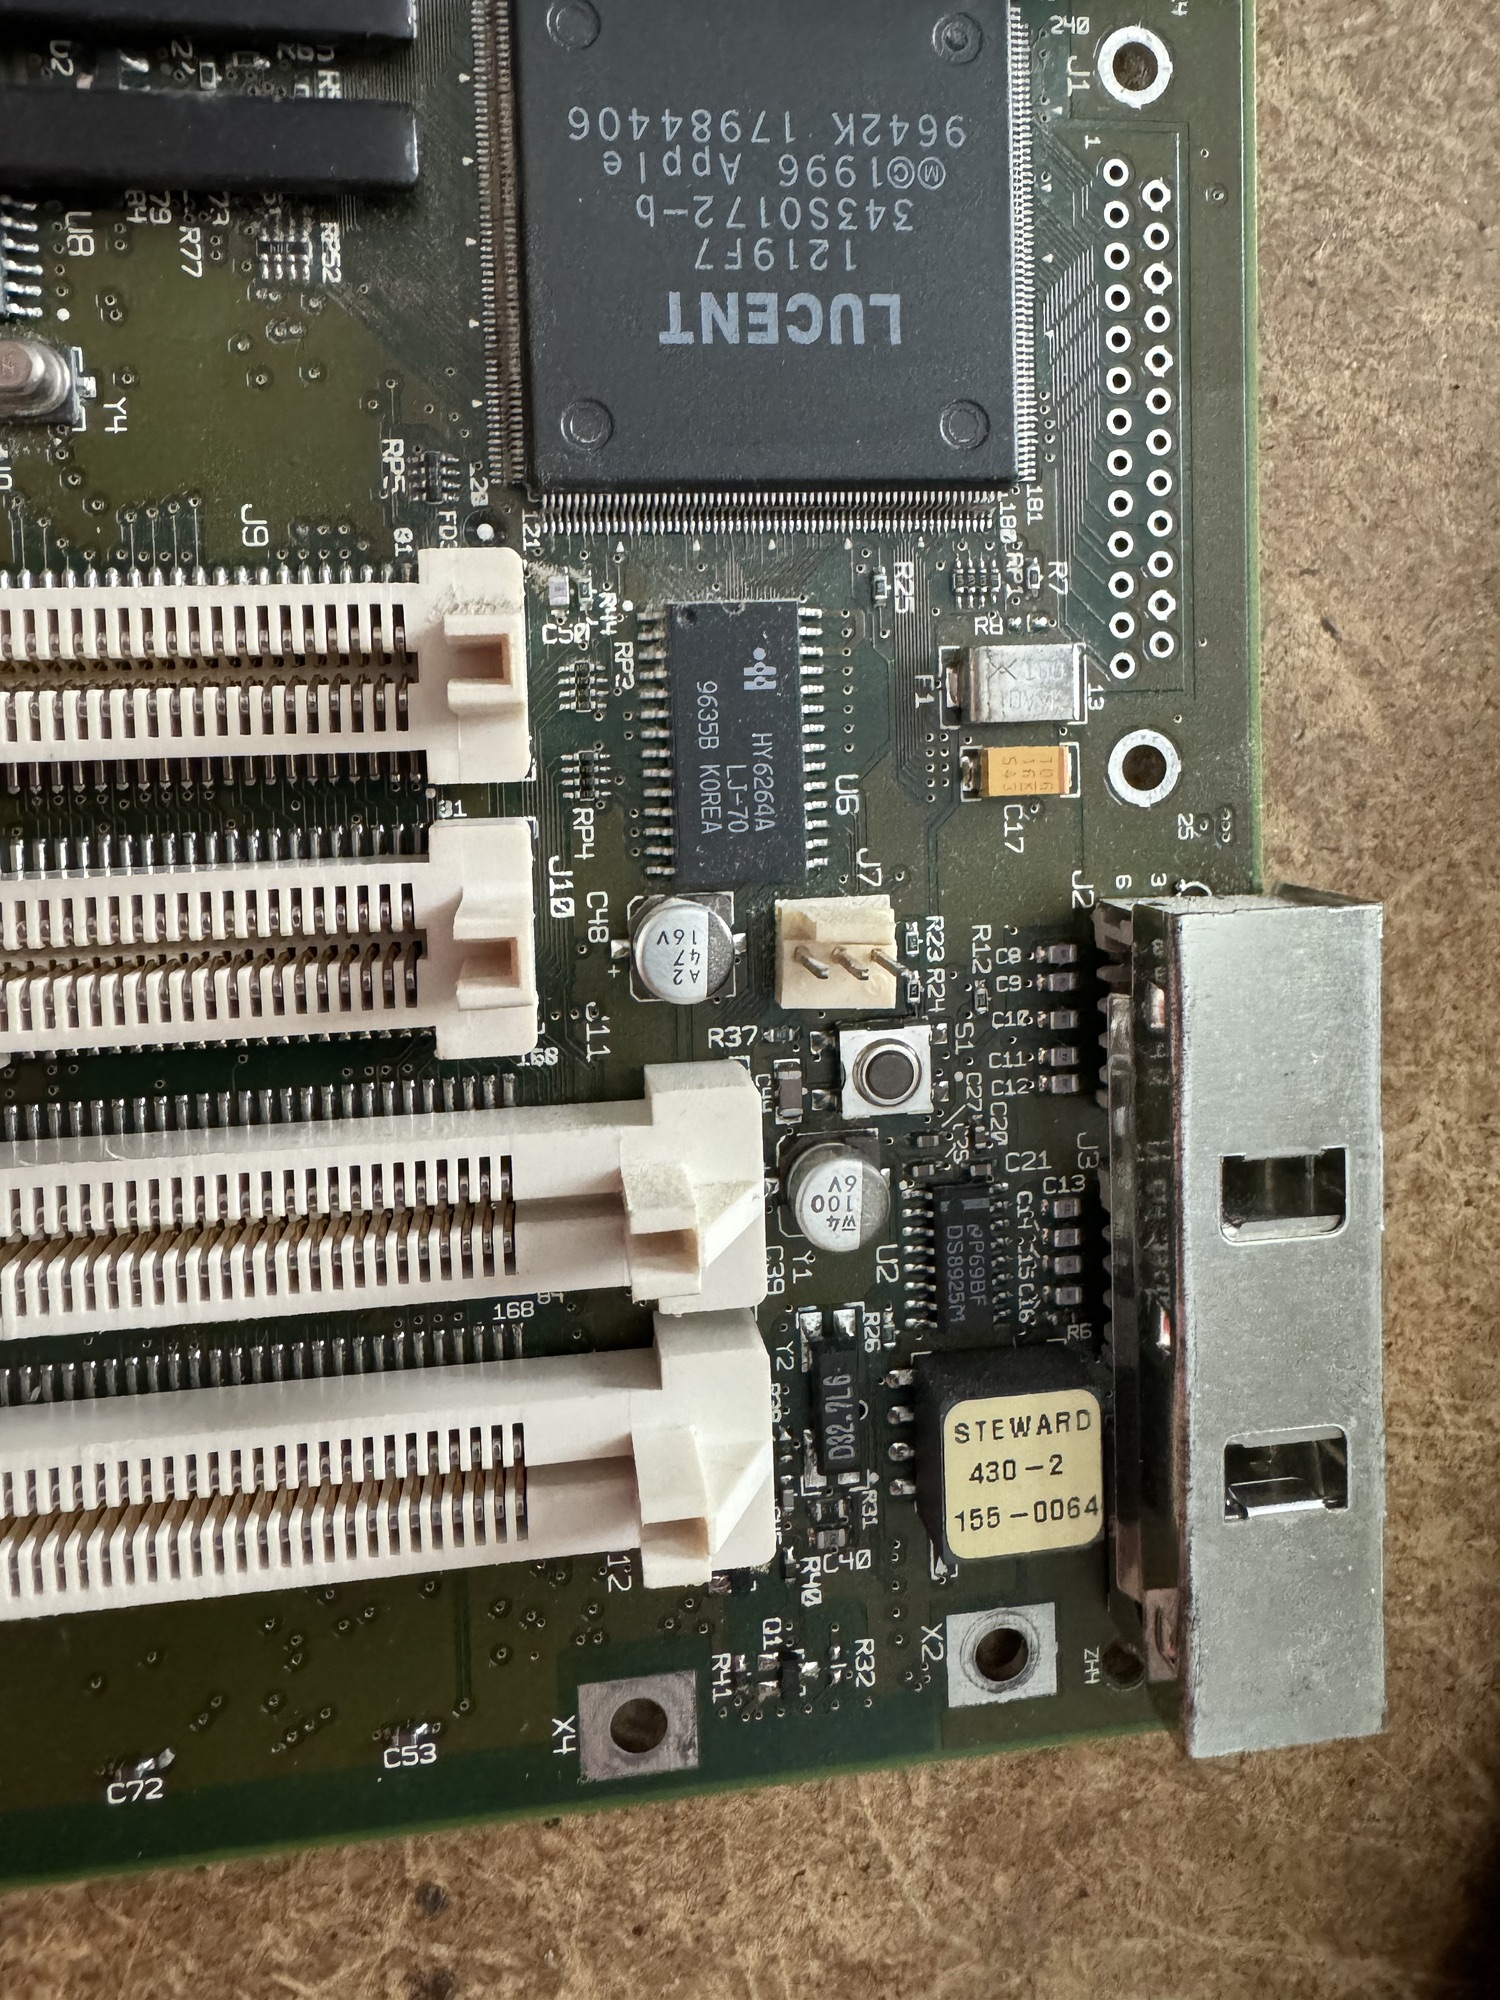
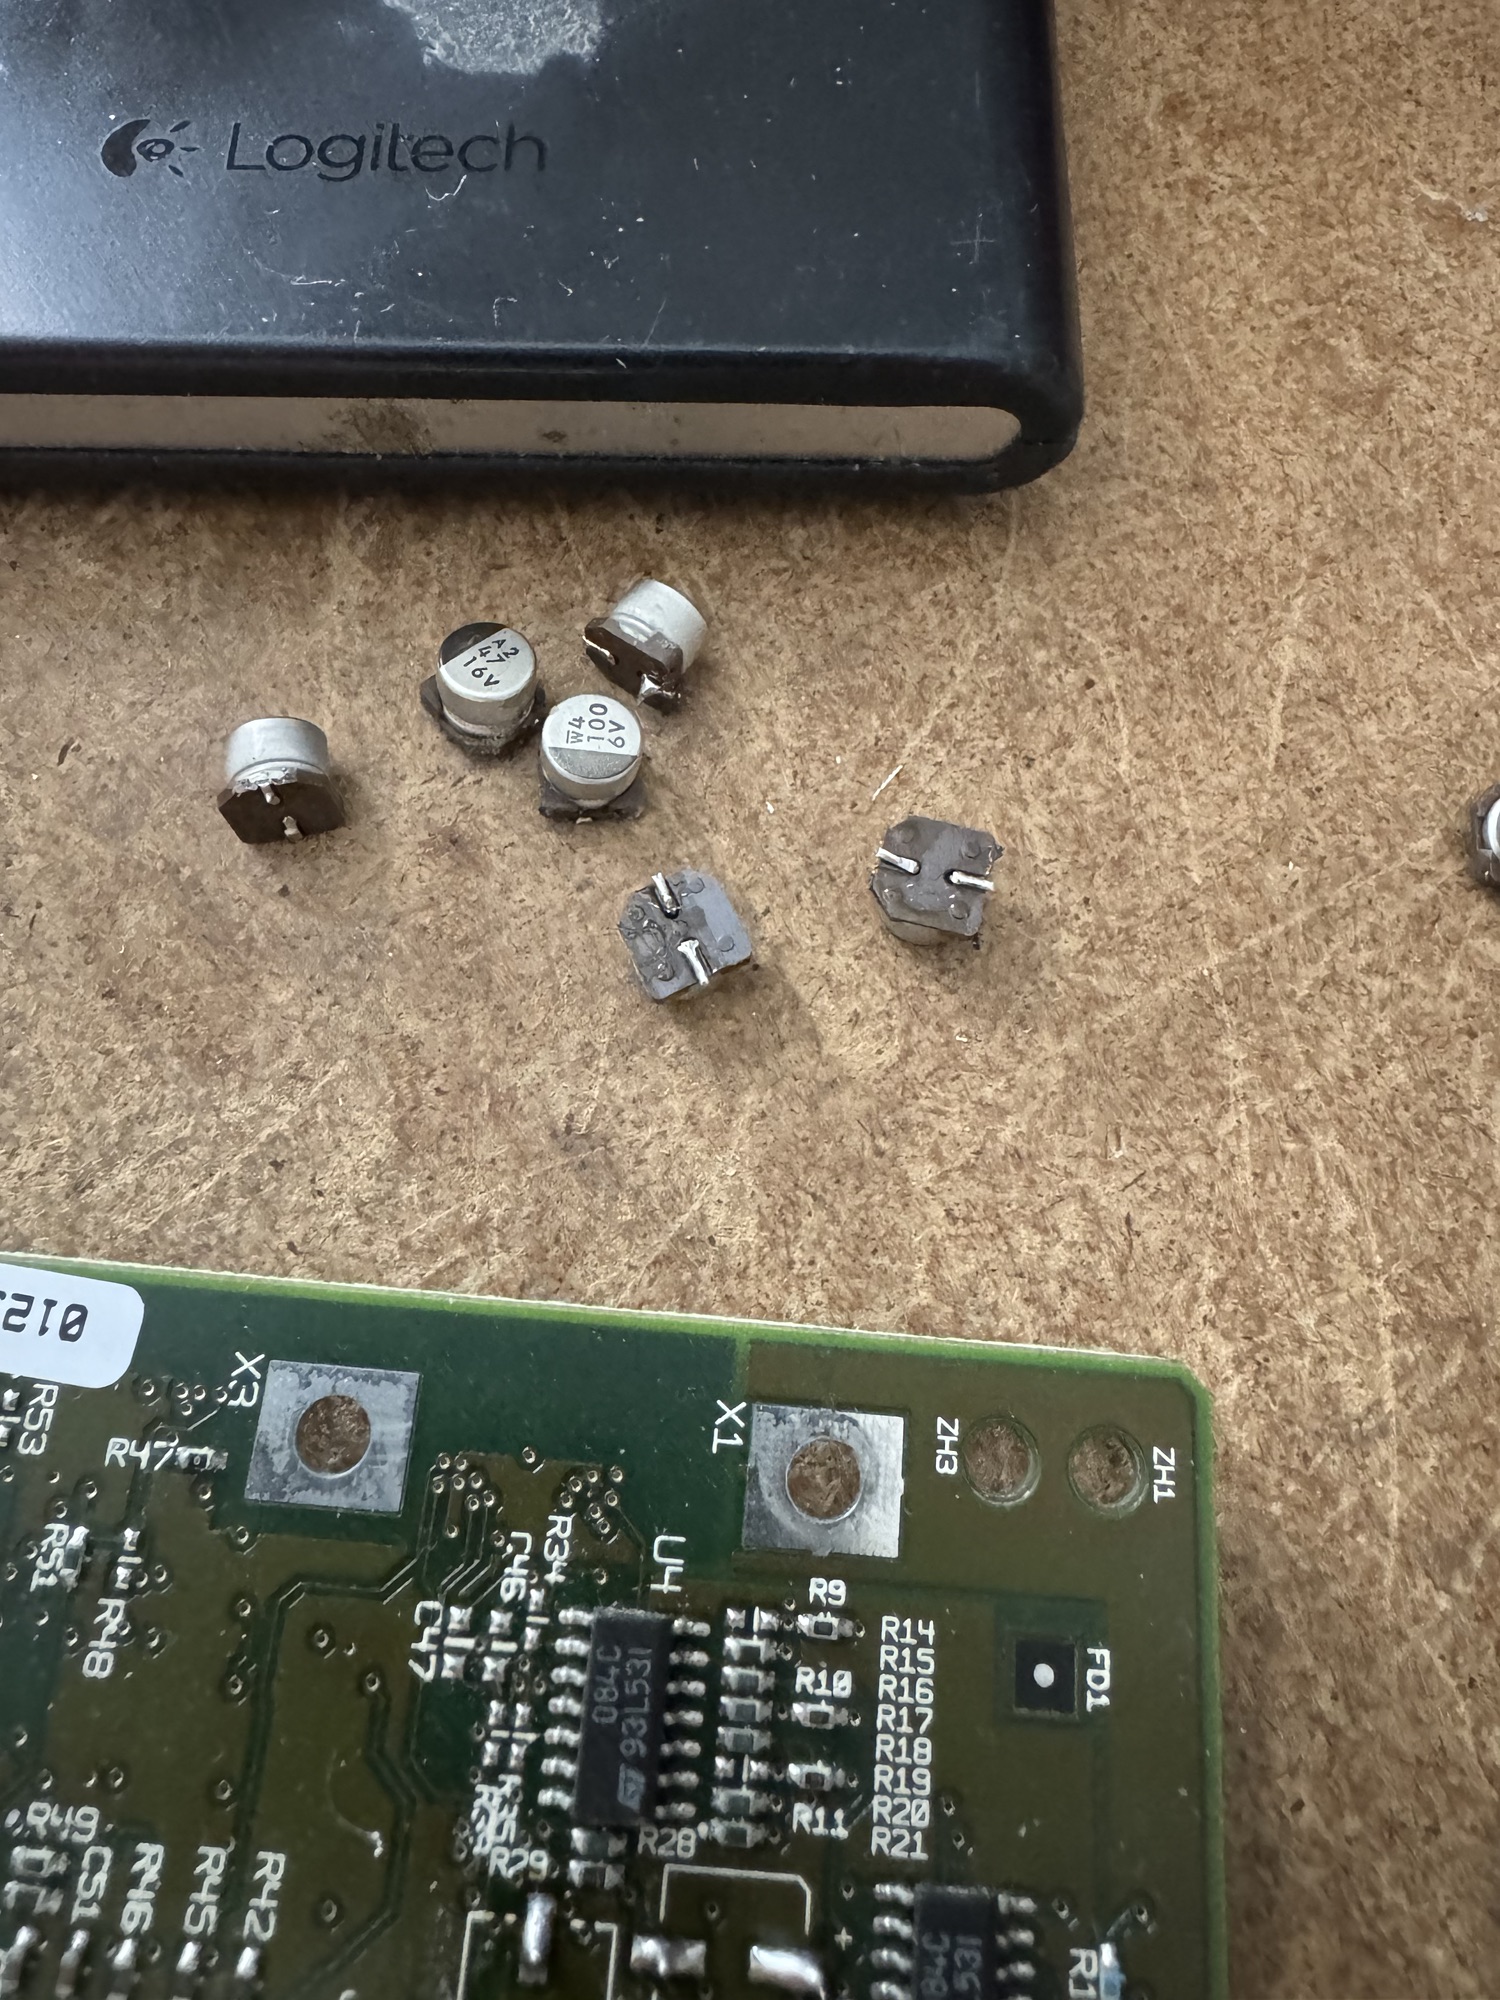
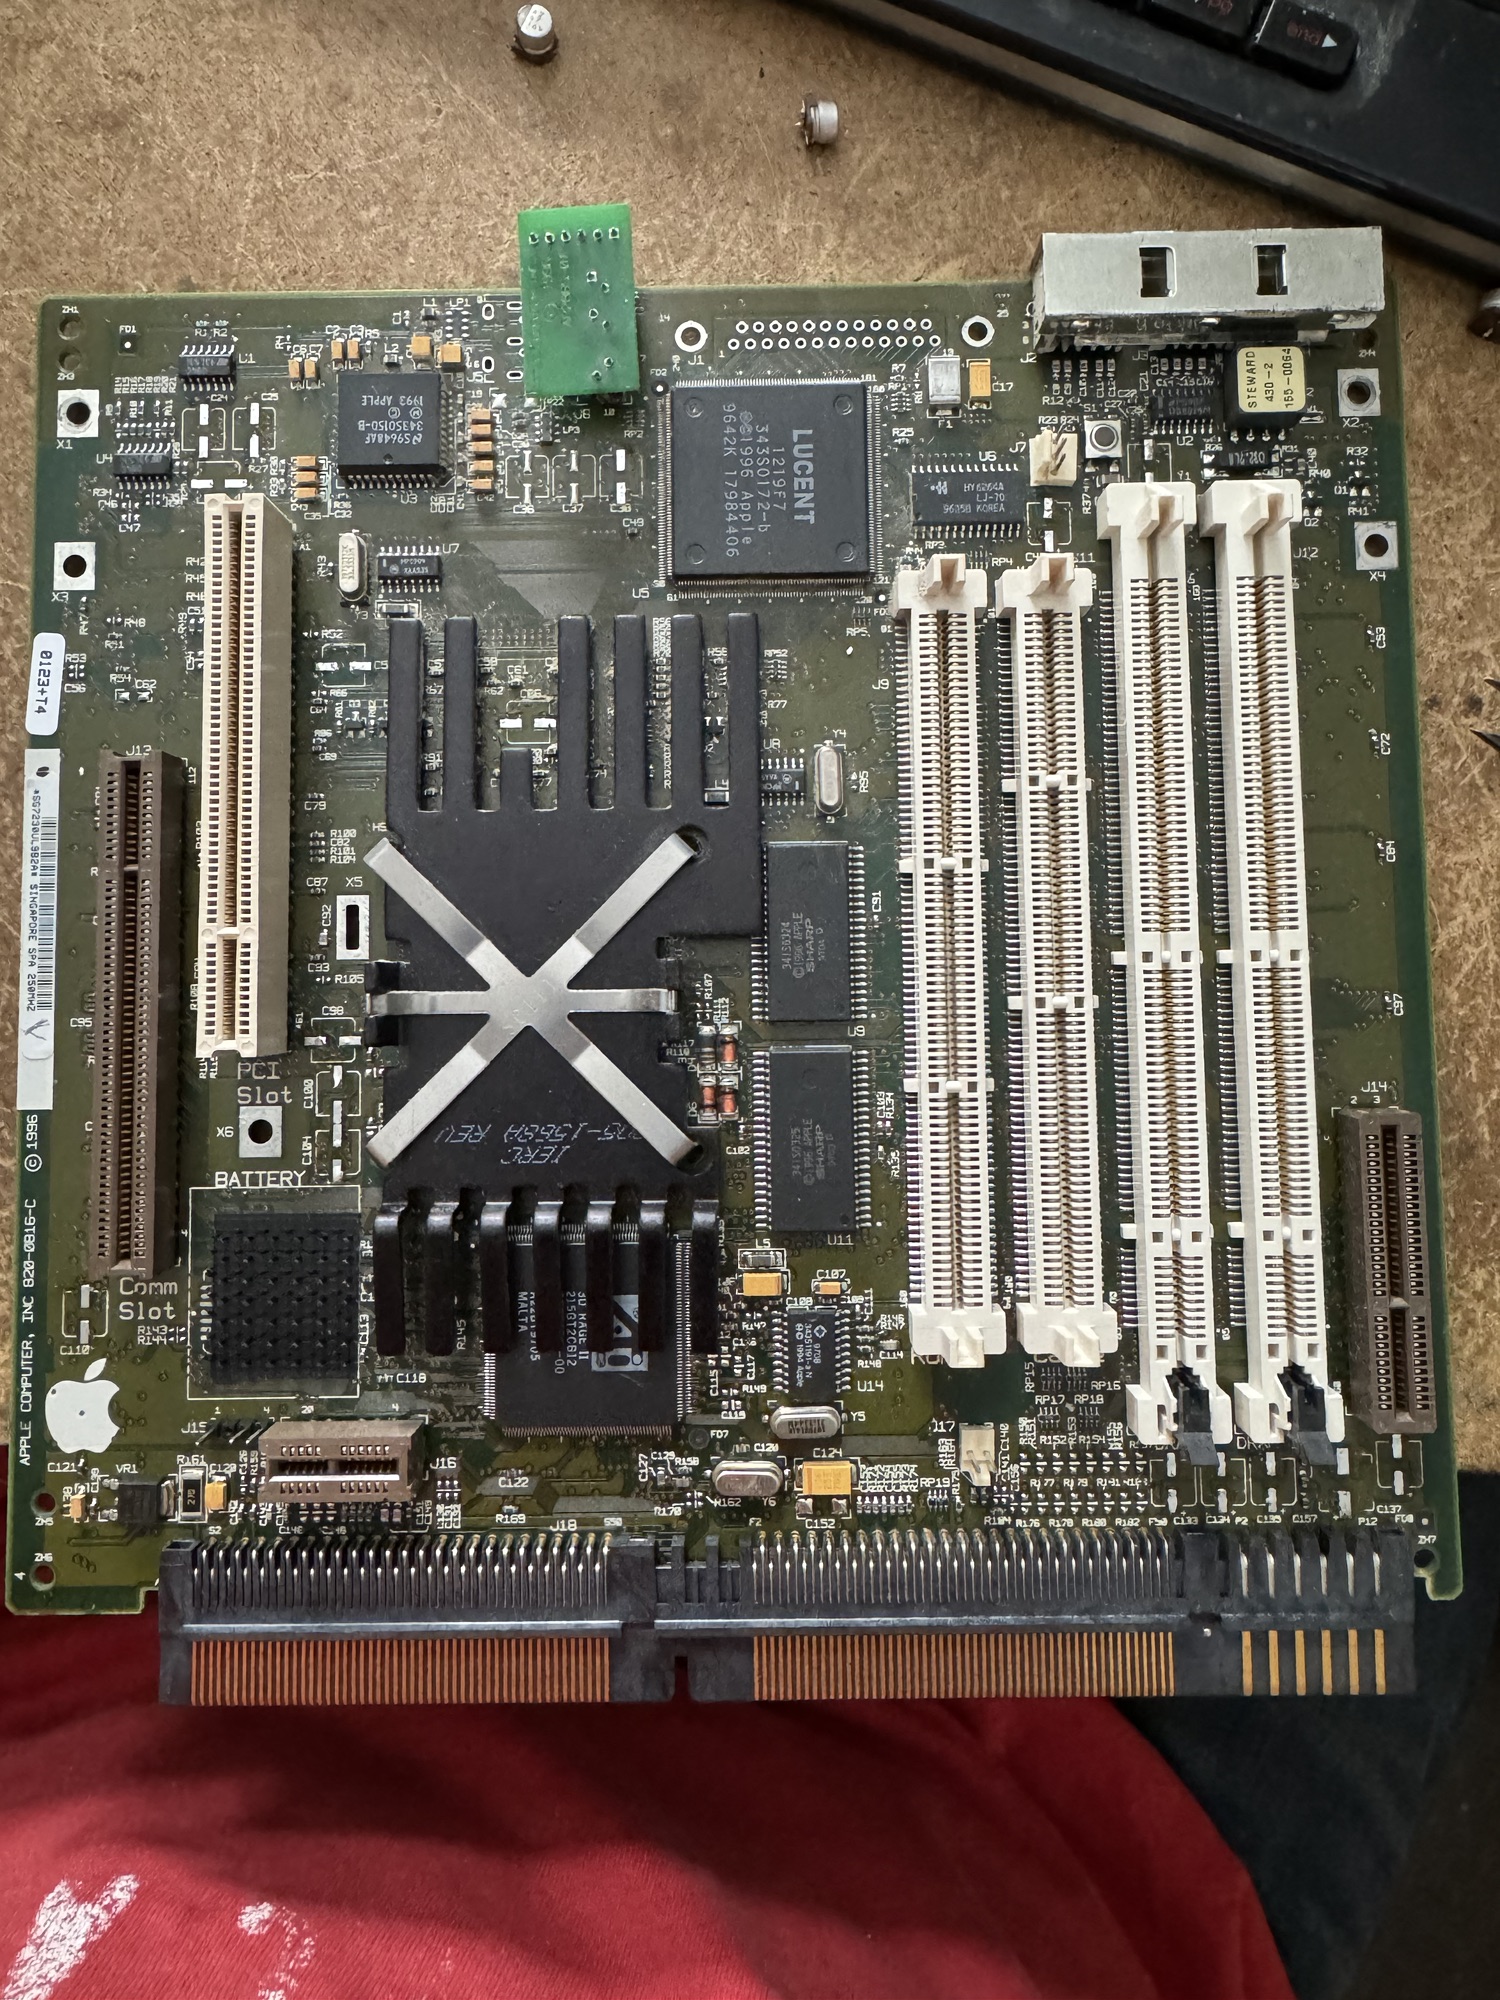
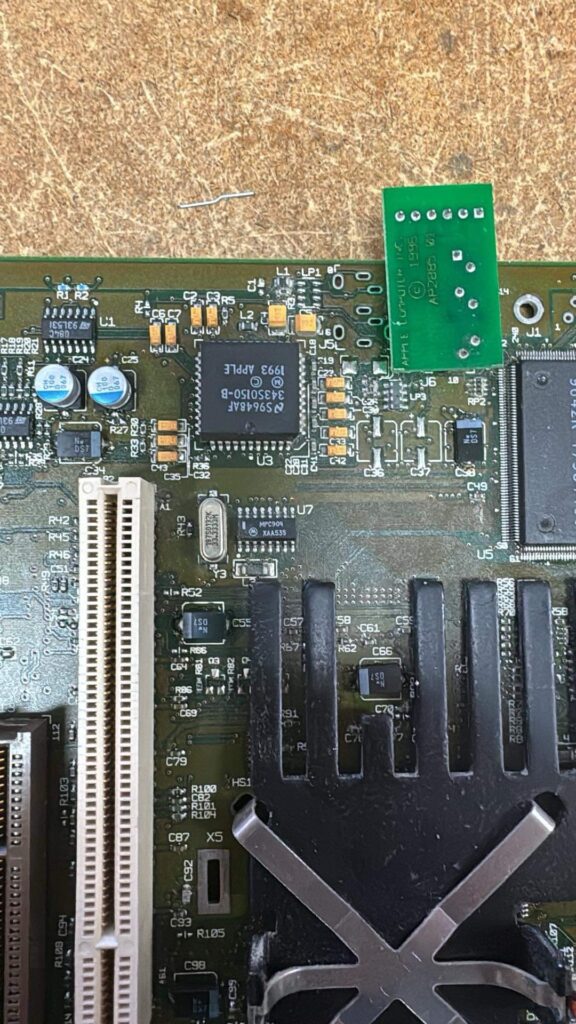
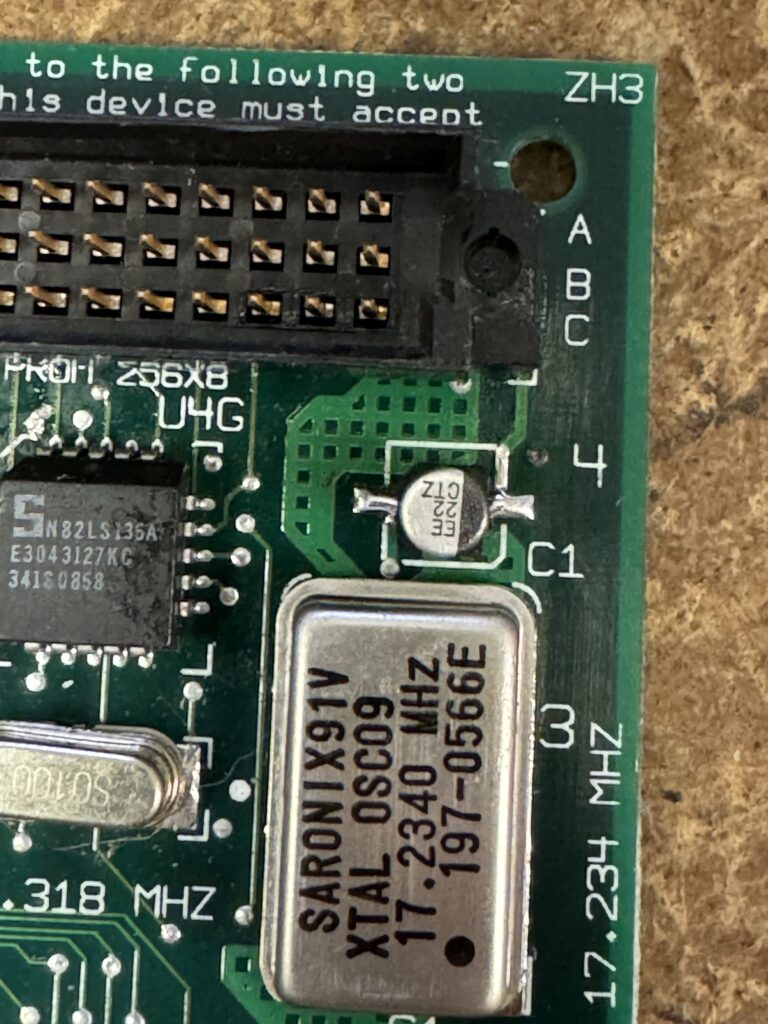
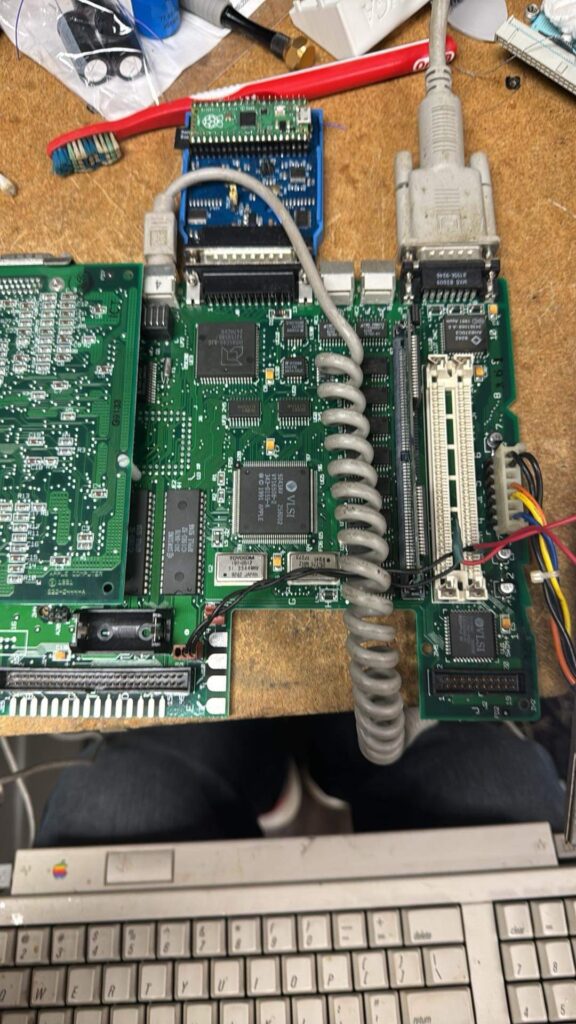
This Macintosh IIFX “Reloaded” build, fresh from Bolle, initially presented a daunting challenge: It powered on, the fan spun, but beyond that, it was unresponsive – no chime, no video, no signs of life. While not completely dead, it was certainly in a coma. But as any seasoned tech knows, the silence (or in this case, the fan noise) is just the beginning of the story.
My diagnostic journey started with the fundamentals. I verified the RESET and HALT signals, confirming they were correctly transitioning low on reset and returning high. Next, I employed ZigZagJoe’s invaluable ROM diagnostic card. Unfortunately, the card was halting almost immediately after attempting to boot, indicating a deeper issue than a simple ROM problem.
With the ROM ruled out, I shifted my focus to clock signals. A thorough check revealed all expected clocks were present at their designated test points. This led me to suspect a potential problem with the OVERLAY signal, crucial for directing the CPU to the correct ROM location.
While probing for the VIA clock, I made a critical discovery. I was referencing the chip’s part number, not its board designation, and consequently, I was looking in the wrong place! I was missing the VIACLK signal entirely. A closer inspection of the board revealed a critical error: UD13 and UE13 were swapped. Correcting this oversight brought a glimmer of hope – the system now attempted to power on (the fan was already spinning), although it still wouldn’t chime.
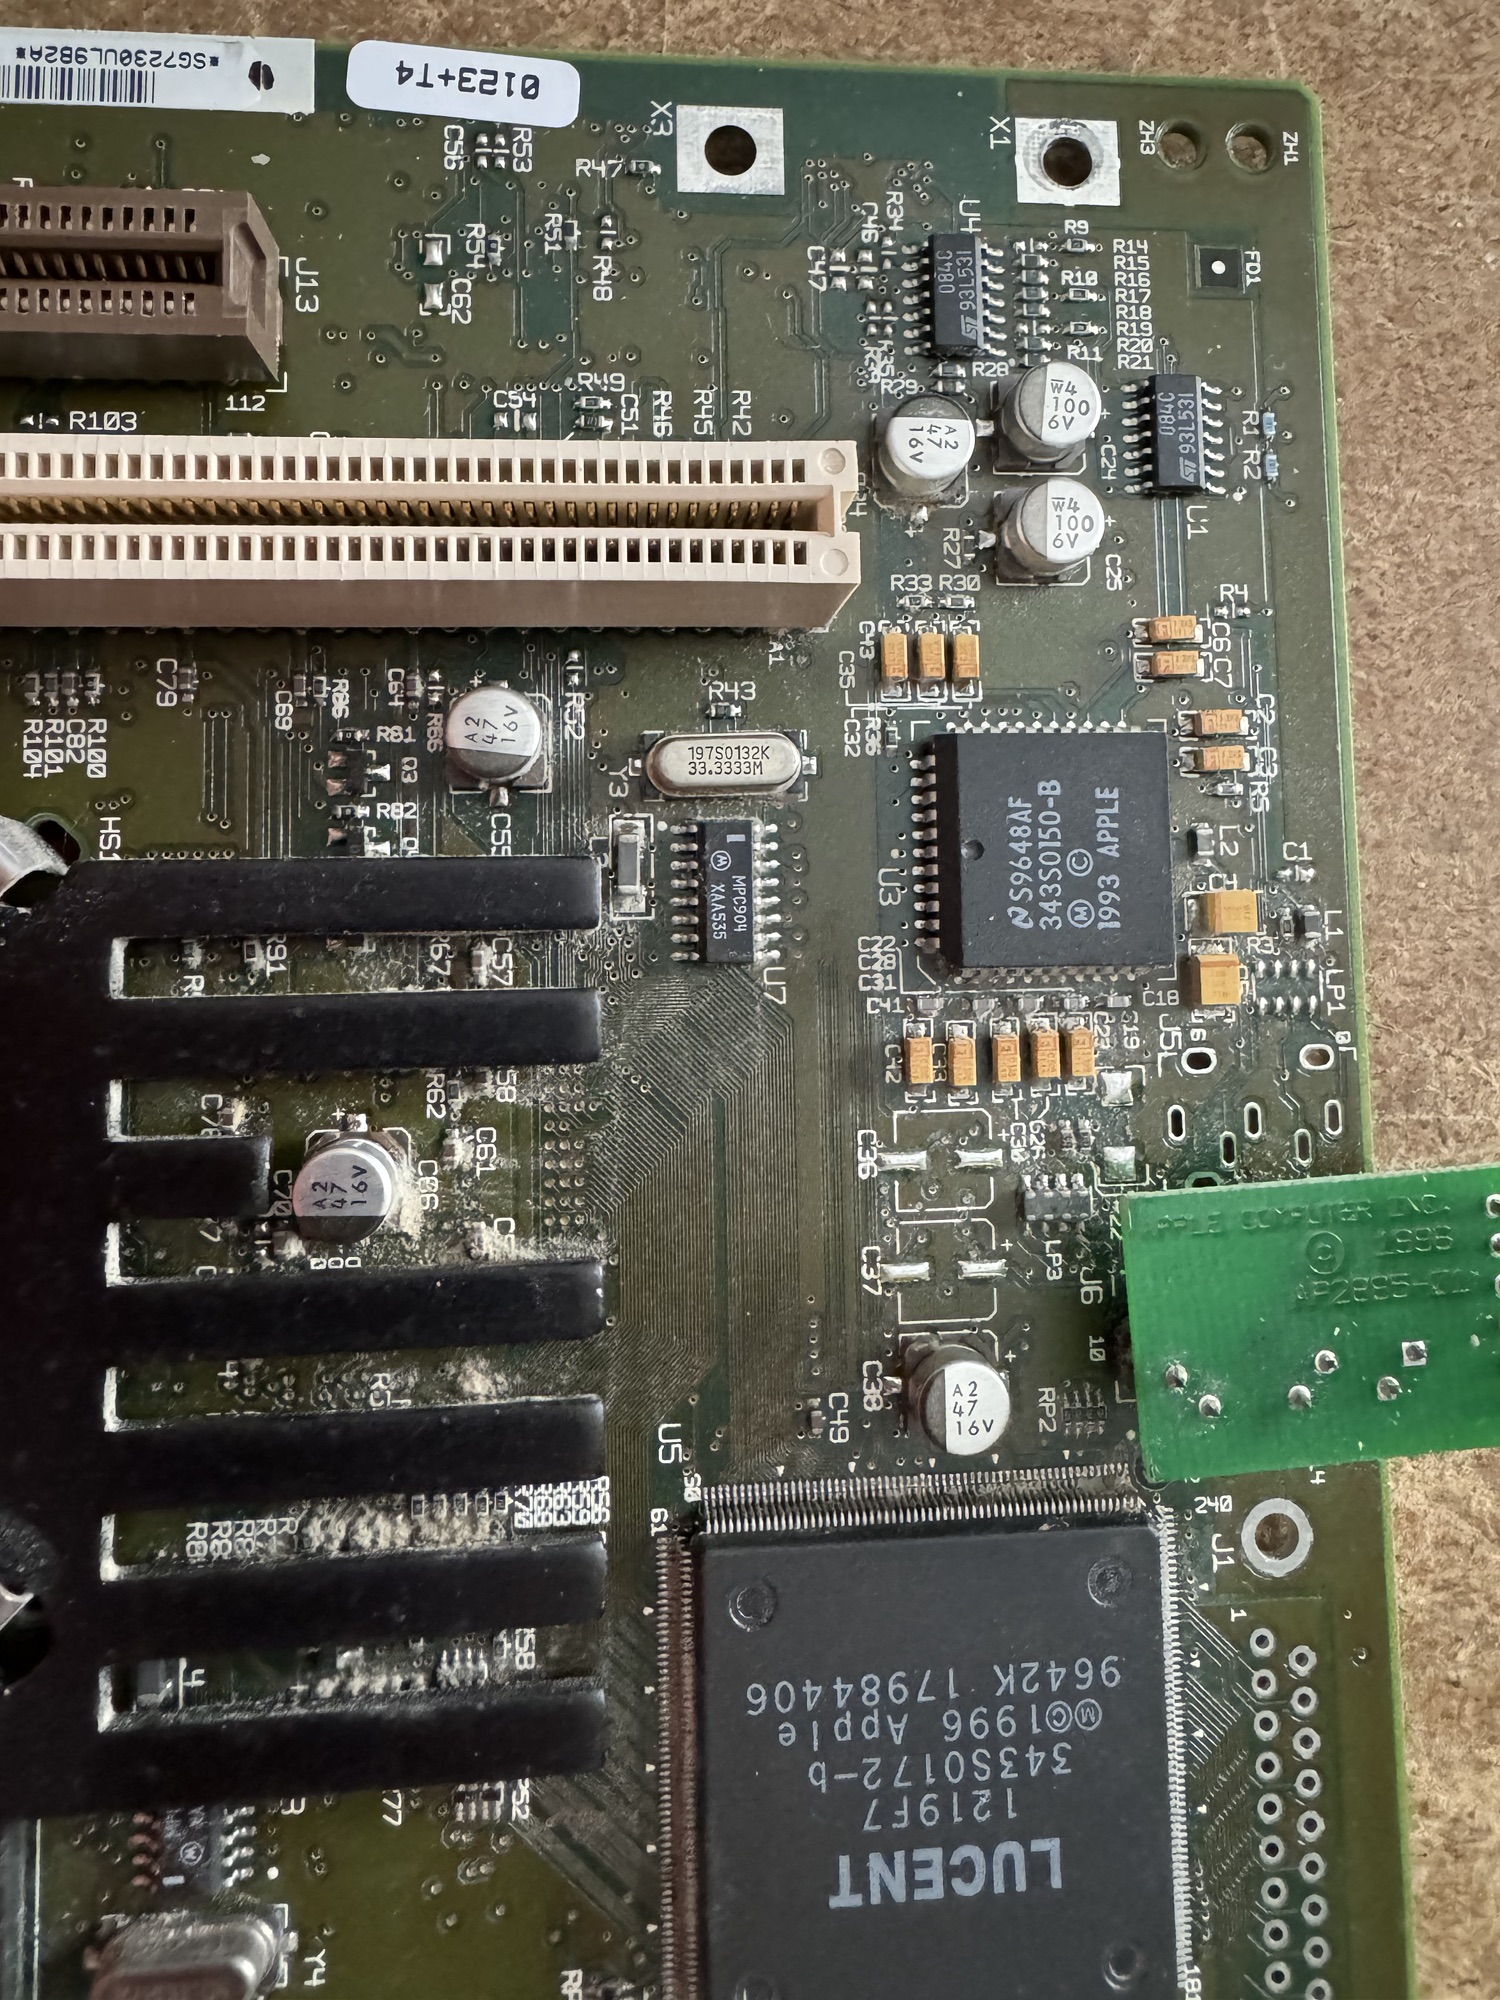
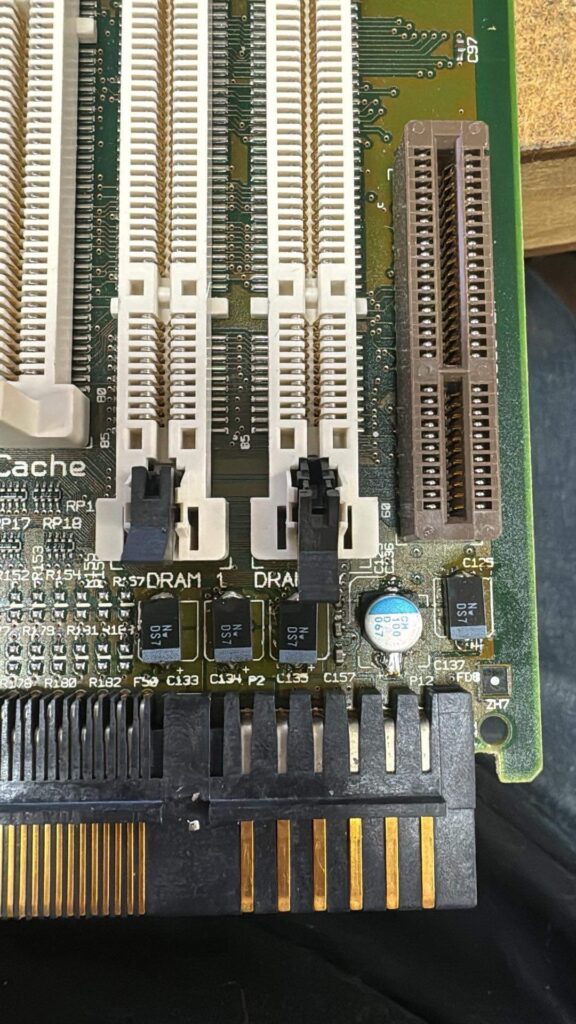
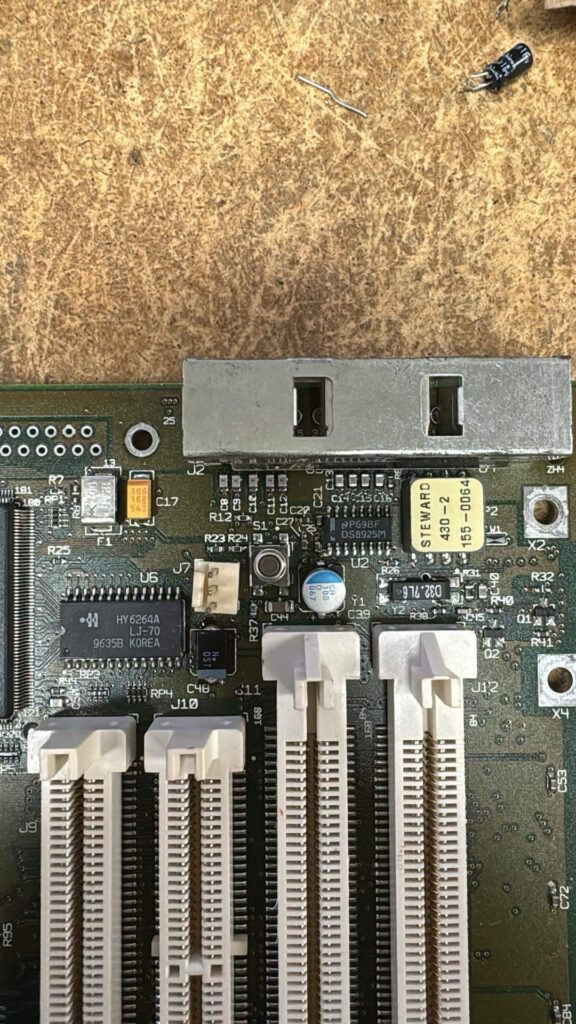
I installed some SIMMs and connected my BlueSCSI. The system finally chimed! However, the NMI (Non-Maskable Interrupt) button behaved erratically. Pressing it resulted in no “death chime” unless it was pressed immediately after reset. This pointed towards a potential memory or interrupt controller issue.
At this point, I reached out to the board’s creator, Bolle, for guidance. He graciously pointed me to a crucial detail I had missed: jumper J103, which enables the SRAM, was not bridged. Bridging J103 proved to be the missing link. The IIFX finally chimed to life!
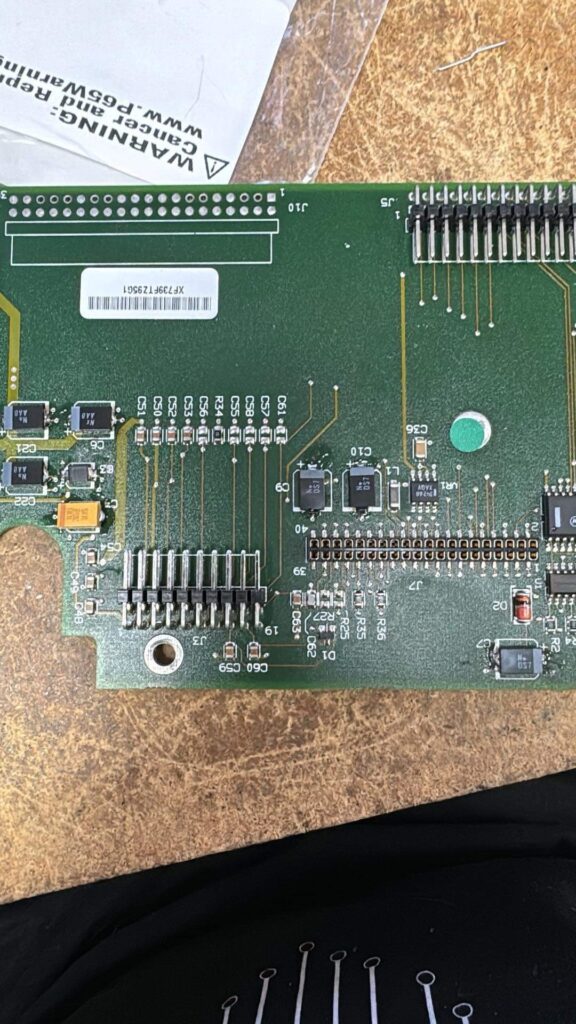
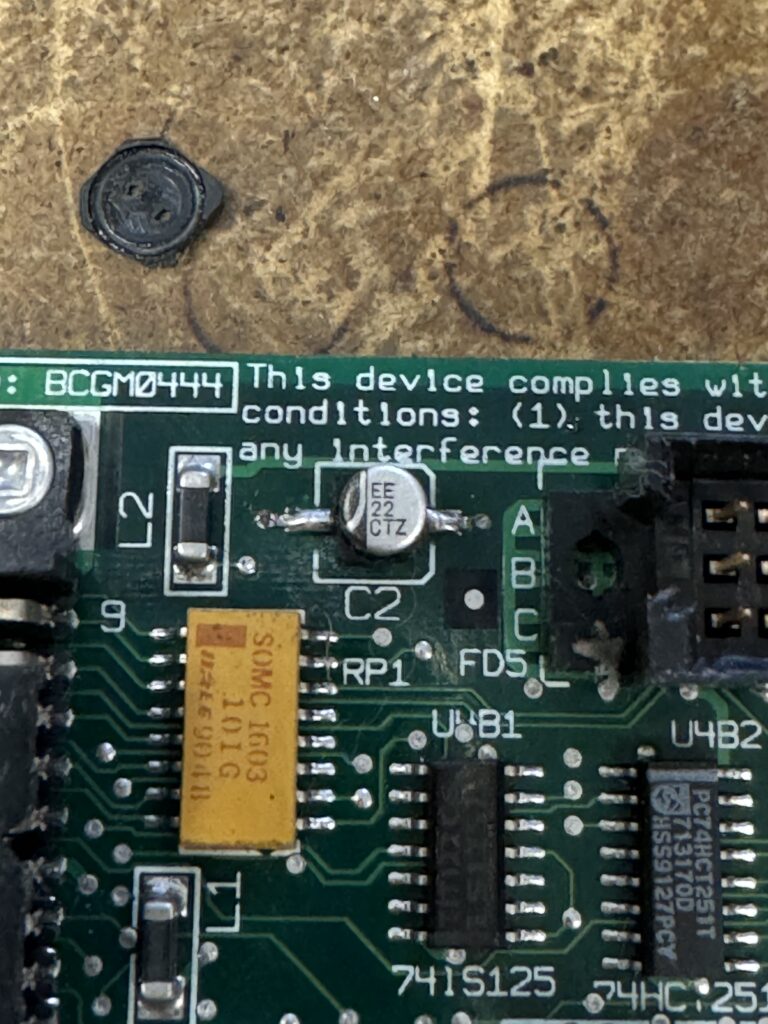
With a functioning system, I turned my attention to the remaining issue: the non-functional NuBus slots. SCSI was working flawlessly, but NuBus remained stubbornly silent. I verified the presence of the NuBus clock signal, which was indeed present. Despite having the correct clock, the NuBus cards were not recognized.
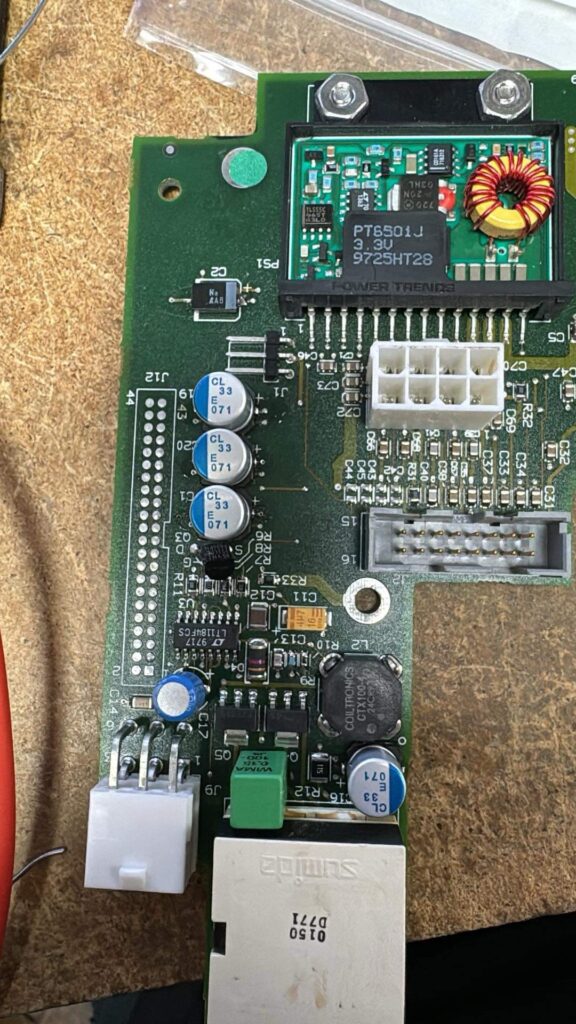
In a moment of desperation, I resorted to a technique familiar to many hardware troubleshooters: targeted reflow. I decided to reflow several TI chips, including two TI G(P?)ALs (Generic Programmable Array Logic). And, to my surprise, this seemingly random act proved to be the solution! After reflowing those two GALs, I powered on the system, and… video! The NuBus slots were now working.
While I still have some final testing to complete, this marathon troubleshooting session has hopefully reached its end. This experience highlights the importance of meticulous signal tracing, double-checking component placement, and sometimes, a little bit of luck. Thanks to Bolle’s expertise and a systematic approach, this Macintosh IIFX has been resurrected from its near-death experience!
I’m thrilled to announce that I’ll be at VCF SoCal 2025 (https://www.vcfsocal.com/)! This is the ultimate event for retro computing fans, and I’ll be bringing a ton of exciting Amiga and retro tech goodies. Here’s what you can expect to find at my booth:
Whether you’re looking to upgrade your classic Amiga, explore PiStorm possibilities, or add a BlueSCSI to your retro setup, I’ve got you covered. Stop by to chat about retro tech, check out the gear, and find the perfect additions for your collection.
I can’t wait to meet fellow enthusiasts and celebrate the golden age of computing together. See you at VCF SoCal 2025! ??️
#VCFSoCal #Amiga #RetroComputing #PiStorm #Indivision #BlueSCSI #AmigaUpgrades
I’m thrilled to announce that I’ll now be offering A1200.net cases and black Amiga 1200 keycaps! ? Whether you’re restoring a classic Amiga 1200 or building a sleek, modern retro-inspired setup, these high-quality cases and keycaps are the perfect way to elevate your project.
✨ What’s Available:
These products are ideal for collectors, modders, and anyone who loves the iconic Amiga 1200. Stay tuned for more details, including pricing and availability!
Let’s keep the retro spirit alive with a fresh twist! ??️
Exciting news for Commodore Amiga enthusiasts! We’re thrilled to announce the launch of our new store! Where you can find premium upgrades tailored specifically for the iconic Commodore Amiga.
Our curated collection includes:
You can find the new store at https://store.amigaofrochester.com
We recently had a pretty great piece come in for restoration. A TAM, a twentieth anniversary Macintosh. We did a full restoration, minus its power supply (owners preference).
Owner’s write up https://www.mac27.net/tam-restoration
Owner’s write up on disassembly https://www.mac27.net/tam-disassembly


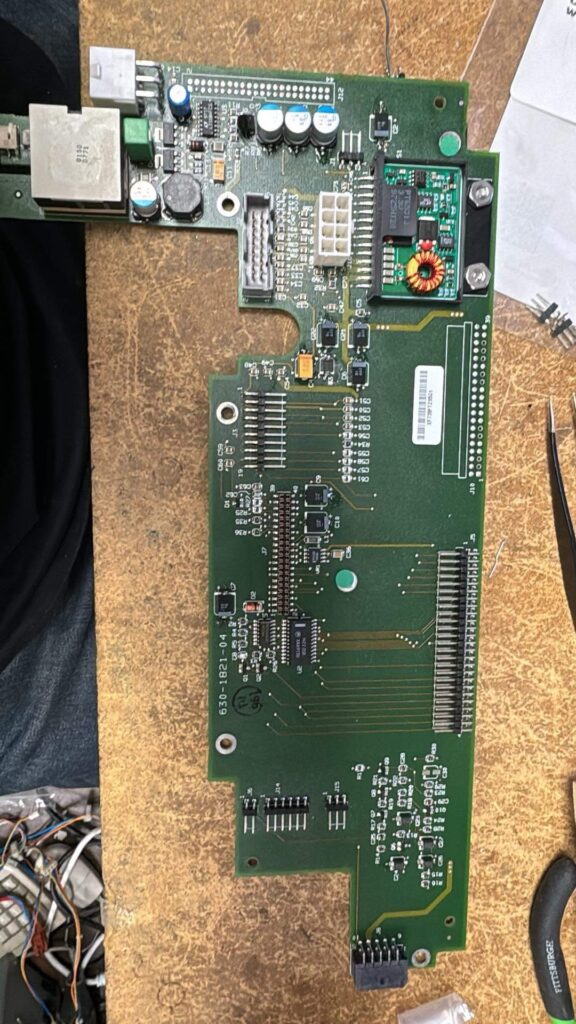
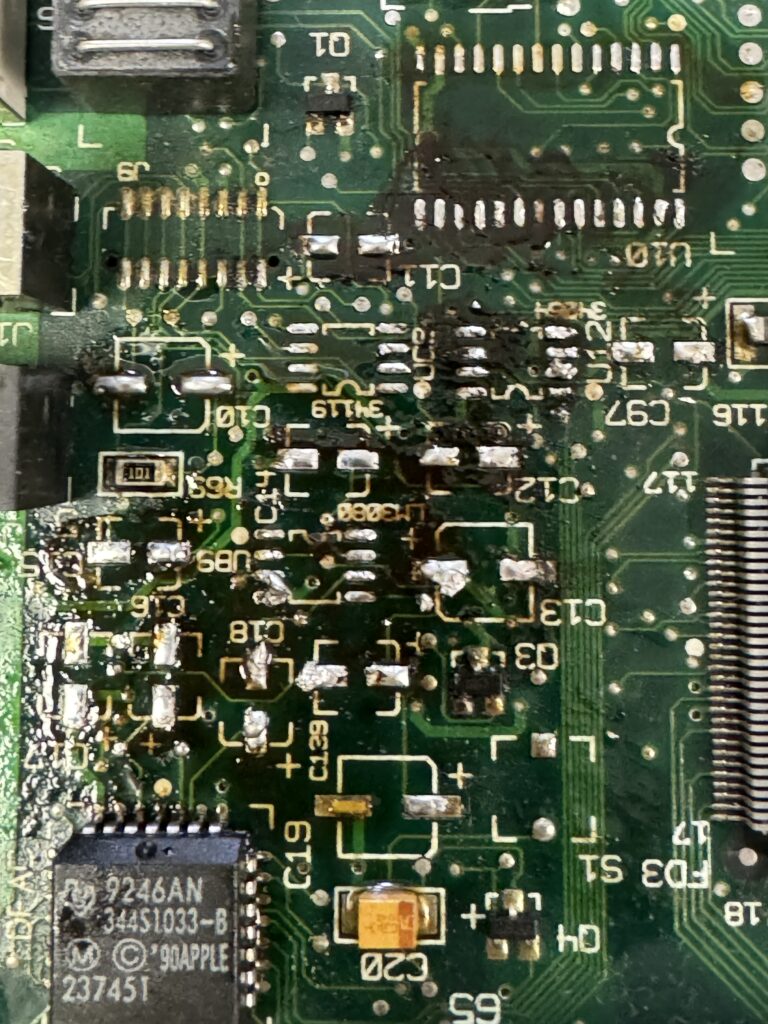
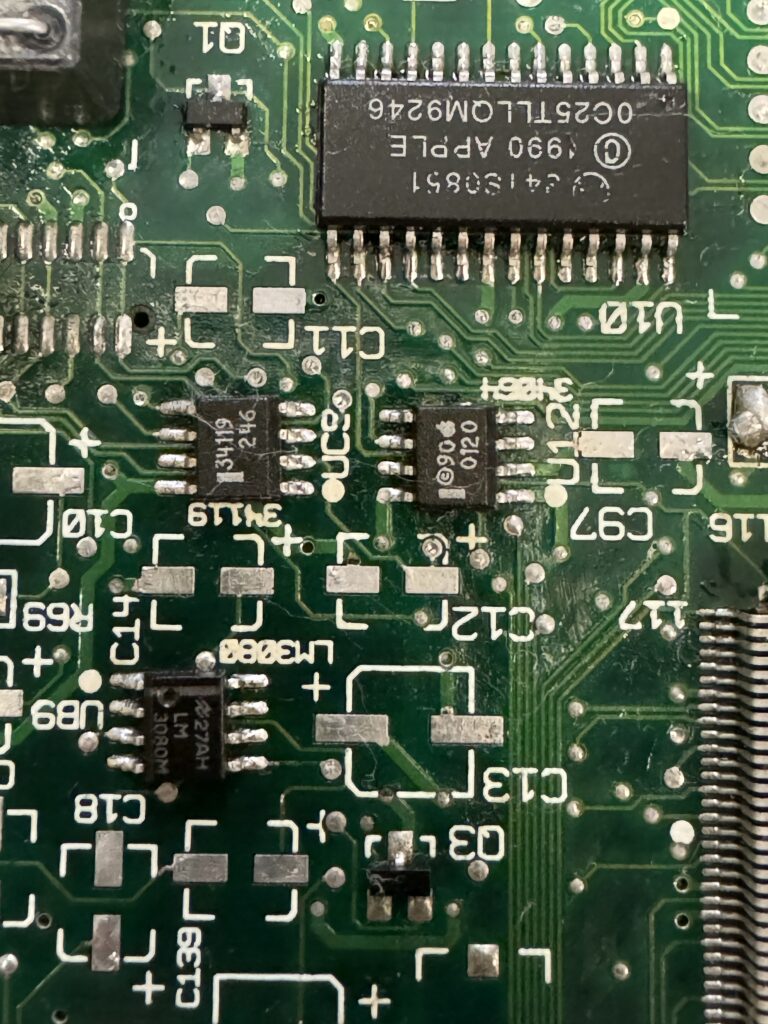
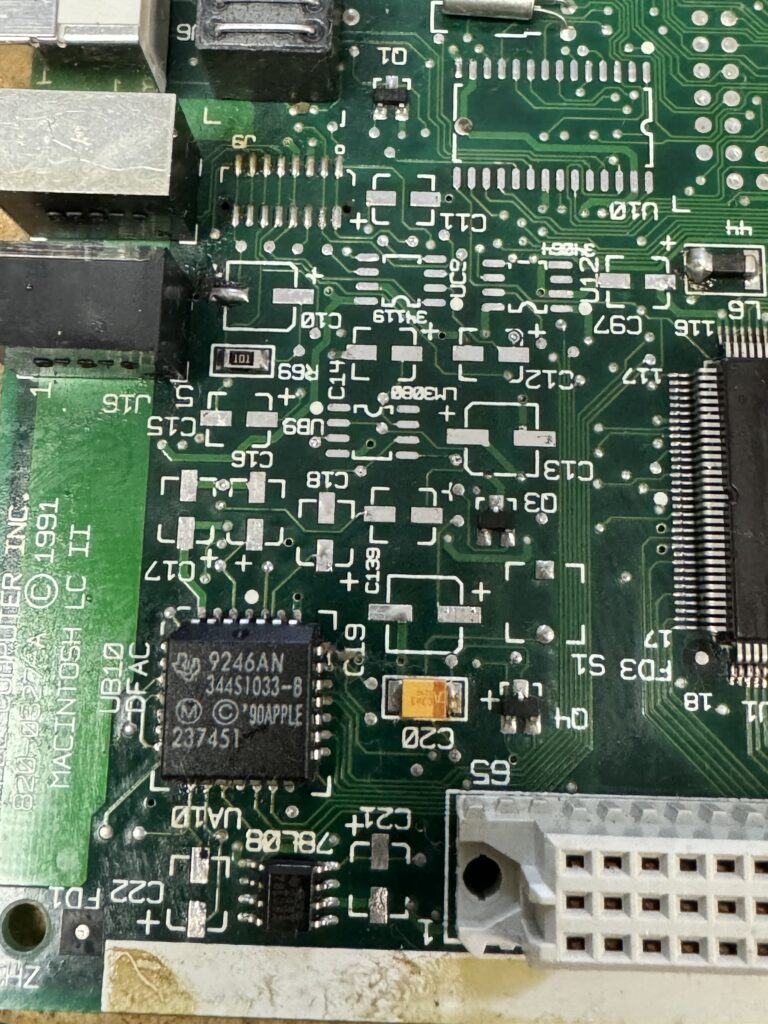
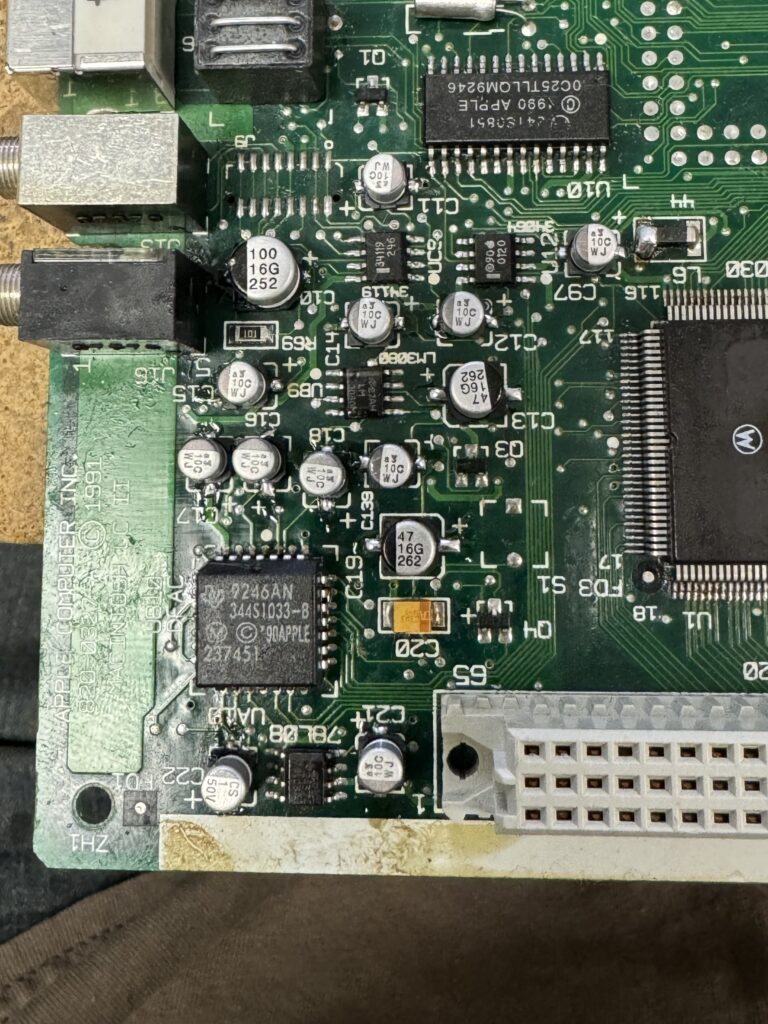
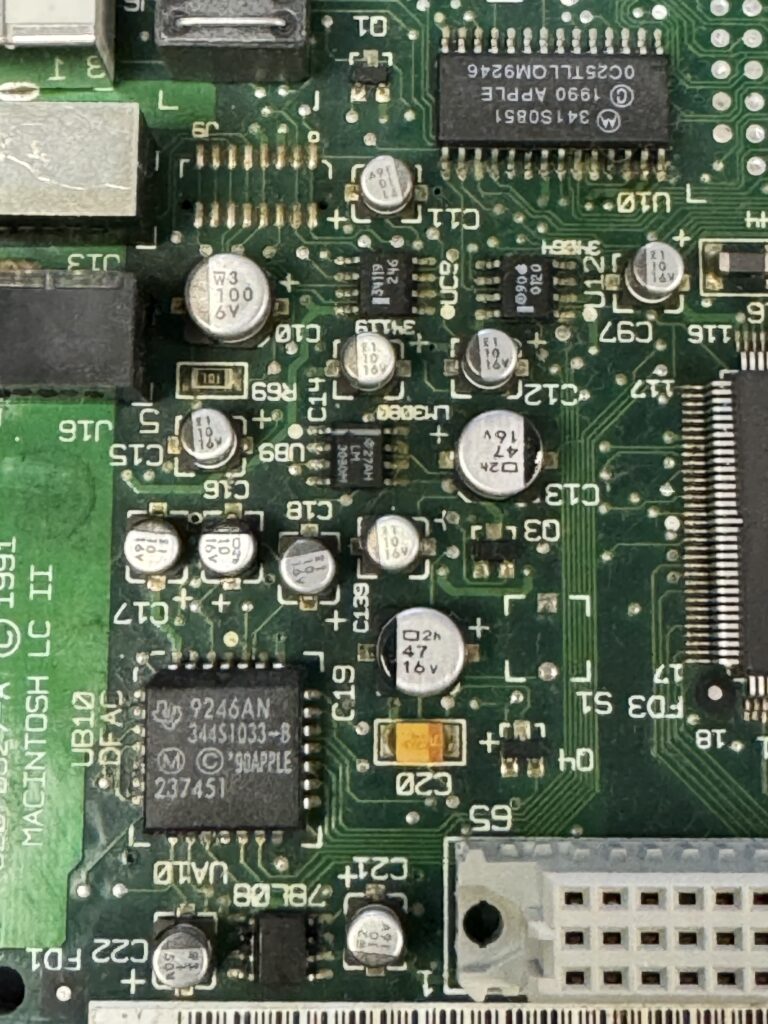
A customer sent us his LC II to get fully restored. We removed all components in the affected area and cleaned everything thoroughly. We then replaced the components after cleaning them. One recapped the logic board was ultrasonic cleaned.
Along with the logic board they sent their Apple IIe card. It was in fairly good shape beyond some light corrosion which we remedied.

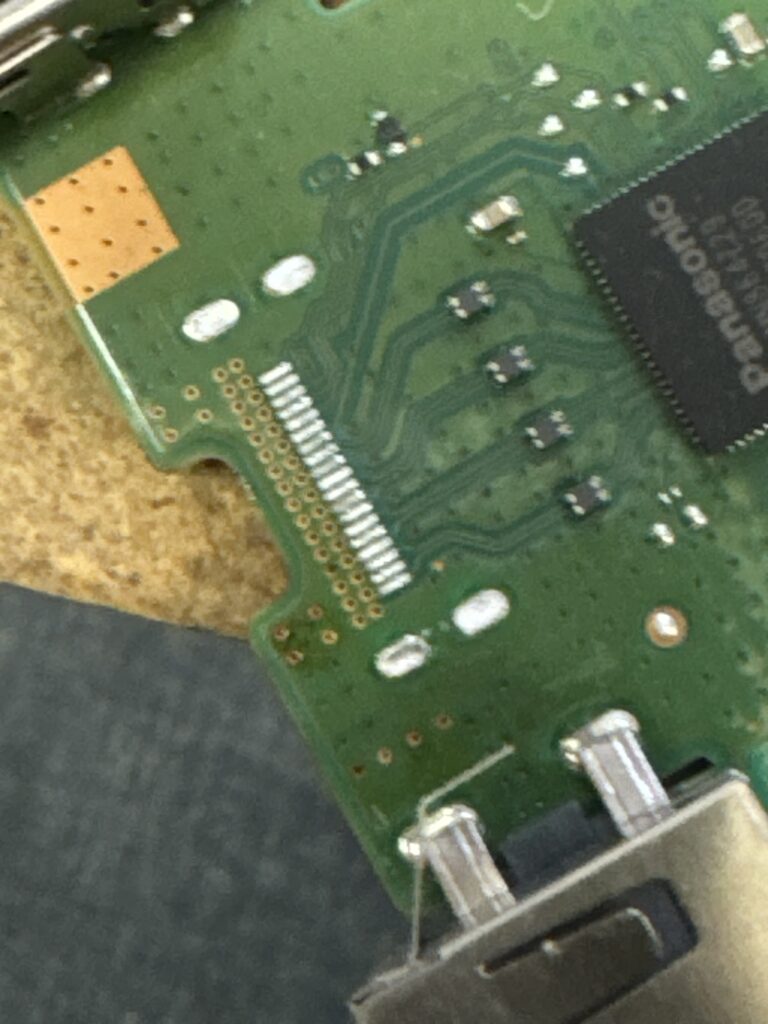
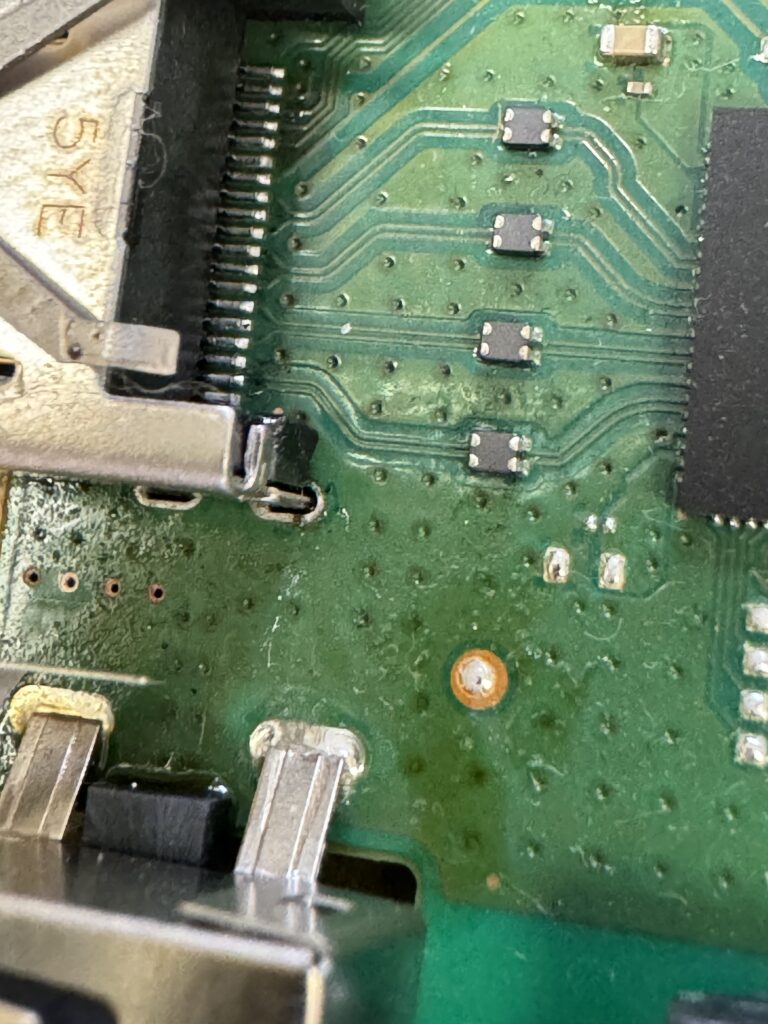
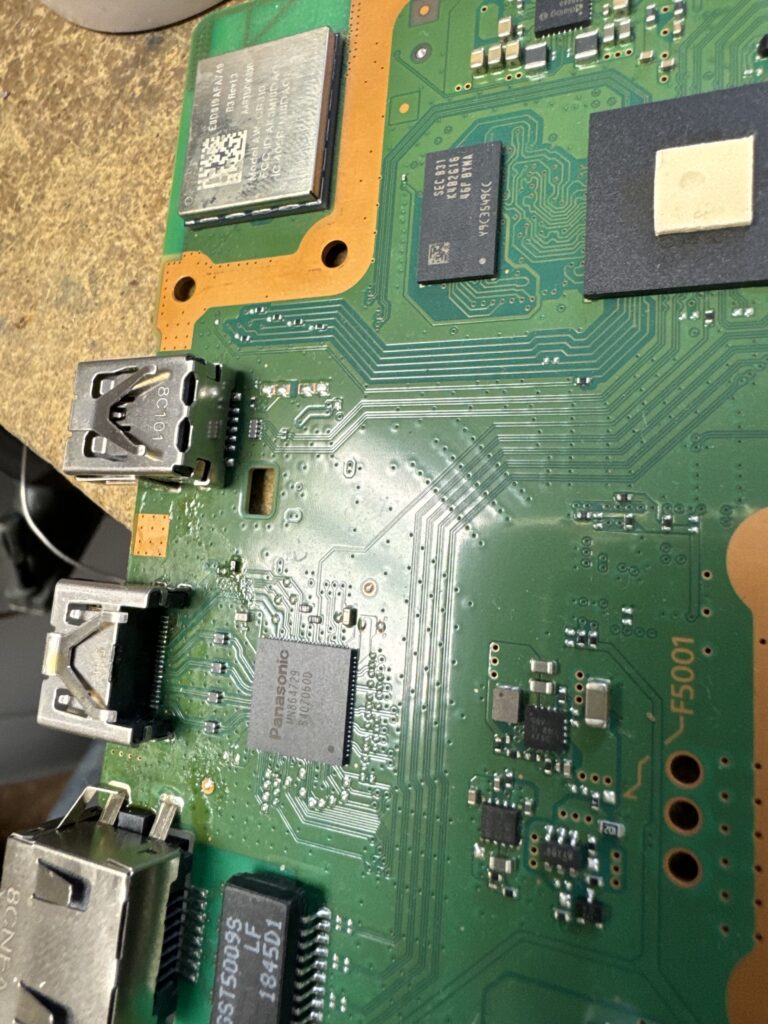
A friend had a PlayStation 4 slim he needed a new HDMI port installed. Here are some photos of the work.
If you need your HDMI port replaced, feel free to reach out!
Today I took a look at an Amiga 600 Rev 1, very early; they are labeled A300 even. The owner had reported they didn’t get any display, however once I put it on my bench I got a yellow screen. If I bent the board a bit, I’d get a booting system. Looking over the board, there were a few areas of corrosion: Paula and the start up circuit / audio.
I began by removing the capacitors near the audio circuit, cleaning it up while I’m at it. I tried turning the system on again, this time I was greeted with a transitioning screen. The system did not actually boot however. I proceeded to remove the capacitors near Paula. After cleaning up, I tried testing again but got the same results.
Looking over Paula I noticed the face near the capacitors were a bit dull. I went over and reflowed Paula’s solder. Sadly, that did not result in any difference.
Feeling confused, I went ahead and installed DiagROM. Testing IRQs and CIAs, everything passed. Huh…That wasn’t the result I expected. This left me with the following:
I went ahead and swapped back in the 2.05 ROM and I reexamined my soldering, I noticed one pin looked not as soldered. I went ahead and added more solder and this time reflowed with hot air. Not expecting a difference, I tested again…Purple Kickstart screen! Woah! I didn’t believe it was stable, so I did the bend test…no change. Board continued working, even after another reboot.
Time for ultrasonic cleaning and reassembly.
I put the remaining capacitors on and tested audio, IDE and keyboard. Everything operated as expected. The board is now ready to go back home.